Kitchens and Bathrooms
Kitchens and Bathrooms
“Kitchen and Bathrooms” are being the most needed essentials for our home. Desiring to have a separate plans for implementing a modern bathroom and Kitchen is not a problem the most difficult part is whether to paint or cover the walls and surface with tiles. With the Book called “Paint Your Home “ written by Kerry Skinner a prominent author explains clearly about the topic and its really helpful. We thank the author for this wonderful article.
Painted finishes on walls and cabinets can enhance and soften the hard metal and tile surfaces usually found in kitchens and bathrooms. But because these rooms get a great deal of use and inevitably collect grease and dirt , the paints must both washable and able to stand up to the water vapor generated by cooking and bathing.
The Surfaces
Begin work on kitchens and bathrooms by performing the preparatory cores you would normally do in any room; scraping loose paint and repairing damage to ceilings and walls your thoroughness in cleaning the walls and other surfaces is especially important here. In some cased you may have to scrape away layers of grease or soap film that has managed to build up in some out-of-th-way spot. Check behind the cooking range, on the walls around ventilation hoods, and around in-wall ventilation fans. Be sure that you remove all of the grease because paint applied to any kind of surface film will not bond correctly.
You must also decide whether you want to paint the cabinets in these rooms. If the cabinets are in good condition and work well with the color scheme of the room, it is probably best to leave them. You can either paint or replace any damaged or shabby cabinets.
New cabinets enhance the appearance of the room and may provide you with more storage options than the old cabinets did. However, new cabinets can b expensive. So if it is the finish you want to change, not the inside of the cabinets, consider painting or staining the. A new color along with some new cabinet and drawer pulls and knobs will refresh and update even the most worn-out looking kitchen.
When choosing a color for your cabinetry, remember that color will set the tone for the entire room. Choosing a very fashionable color may look great for a short time, but you may tire of living with it day after day. On the other hand, a neutral color will force something else to become the focus of the room.

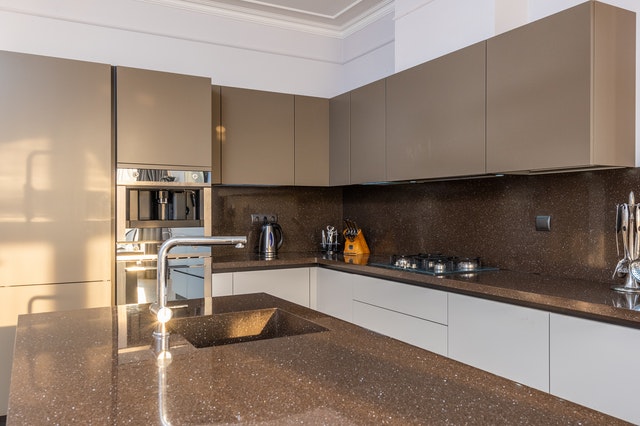
Kitchens
Protecting kitchens when you set out to paint your kitchen, you will notice how little of the room needs painting. This means that there are far more surfaces, including counters, appliances, and cabinets, to protect from splattered paint.
Covering appliances Move appliances—with the exception of the gas range to the center of the room and cover with droop cloths. You should also cover the floor with droop cloths.
Removing hardware Remove cabinet and drawer pulls by unscrewing them from the inside. Place all hardware and screws in a plastic bag until it is time to reinstall them.
Cleaning walls Clean off grease with either a household detergent or trisodium phosphate. A sponge or nonabrasive scouring pad will clean off grime. Remove mildew with a solution of one quart of chlorine bleach to three quarts of water.
Work areas If the kitchen is small, you will probably have to use a counter or a tabletop as your main work area for mixing and pouring paint. Cover with drop cloths and, to protect against paint can scratches, us few layers of old newspapers.
Preparing kitchens
Move appliances away from the wall when appliances center of the room, because the room is small or has a center island, Move the range and refrigerator far away enough from the wall to allow you to paint behind them.
Protect the cabinets If you are not going to paint your cabinets, hang a sheet of plastic over them. Secure with masking tape at the top and sides. If you do plan on painting them later, don’t bother masking them.
Painting kitchen ceilings and walls
Before painting unpainted walls and ceiling, you must apply a coat of primer. It isn’t necessary to prom previously paint walls if you have removed all of the grease buildup. If you aren’t certain whether a surface is absolutely clean, apply primer
Use high sheen paint, such as a semi gloss, that can stand up to repeated washings. Many manufacturers have introduced paints that are specially formulated for use in kitchens and bath rooms. These products contain a mildew that will help to prevent mildew from forming of the high level of water vapor common in these rooms.
Paint in the same order as that for any other room; first the ceiling, next the walls, then the woodwork, and finally the cabinets.
Painting kitchen cabinets
There are two decisions you must make before painting kitchen cabinets, should you paint the insides of the cabinets, and should you leave the doors on or take them off?
Unless the cabinets have glass doors, don’t bother to paint the insides. Kitchen cabinets usually remain closed; even when they are open; whatever is stored inside usually hides the walls. With base cabinets, you must bend over or squat down to see inside. Of course, it may bother you to see unpainted interiors every time you open a cabinet door if you decide to paint them, follow the painting sequence
If you are considering whether to remove the cabinet doors, follow these basic guidelines.
- Don’t remove the doors if you are simply going to sand and paint them. However, you may find it easier to remove the doors than to paint around exposed hinges.
- Remove the doors if you plan to install new exposed hinges.
- Remove the doors if you are going to strip the old finish. This will allow you to apply a chemical stripper in the basement or garage or outside. Follow the direction for stripping wood work
Make sure that you get good results on your old cabinets by choosing the best quality primer and paint available. It is also a good idea to use new brushes and to invest in tack cloths for removing sanding dust.
Preparing kitchen cabinets
Prepare kitchen cabinets carefully before painting them. Use a fine grit sandpaper to sand the inside and outside of the cabinet doors and drawers. Sand the frame of the cabinet. This removes imperfections and provides a good base for the primer. Wipe up the dust with a tack cloth. Apply a coat of primer.
Kitchen Cabinets
If you want to paint the insides of cabinets, follow the sequence. If you want to paint only the outside of a cabinet, proceed as follows
Painting under wall cabinets
1. Cut in under the cabinets
Use a 2-inch brush to cut in under the cabinets. In most cases, you will be able to use the bottom edge of the wall cabinets as a guide. Painting this area can be awkward, as you must bend and reach across the counter to get to the wall.
2. Lay on and smooth the paint and feather the edge
Cover the rest of the area with a 3-inch brush. Then lie on and smooth the paint and feather the edge work in sections that span the distance between the bottom of the cabinets and the counter.
Painting kitchen cabinets
1. Paint the door
Use a new 3-inch brush to paint the inside of the door, using your free hand to hold the door in position. Don’t forget to paint the hinge-side edge of the door. Allow the paint to dry before closing the door. Then paint the outside of the door.
2. Paint the horizontal sections
Use a 2-inch brush to paint the horizontal sections of the cabinet frame. Don’t forget to paint the front the cabinet’s shelves.
3. Paint the vertical sections
Next, paint the vertical sections of the cabinet. Be sure to go over your work and correct any paint drips or runs that may have occurred.
4. Paint the sides
Finish by painting any exposed sides of the cabinet. These normally occur where neighboring cabinets are of different depths or at the end of a run of cabinets.
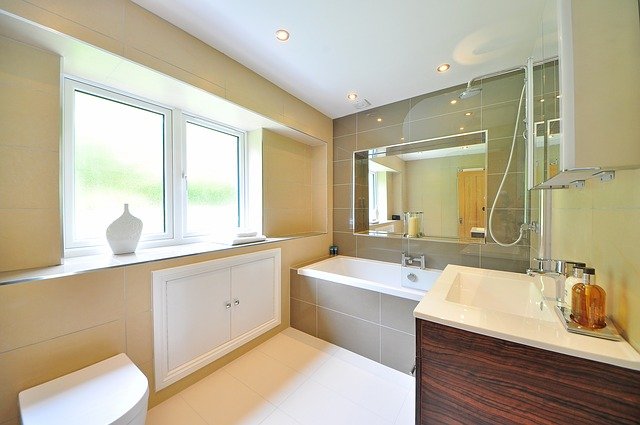
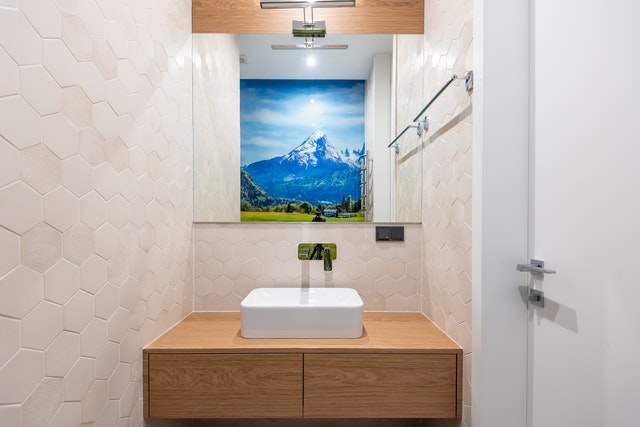
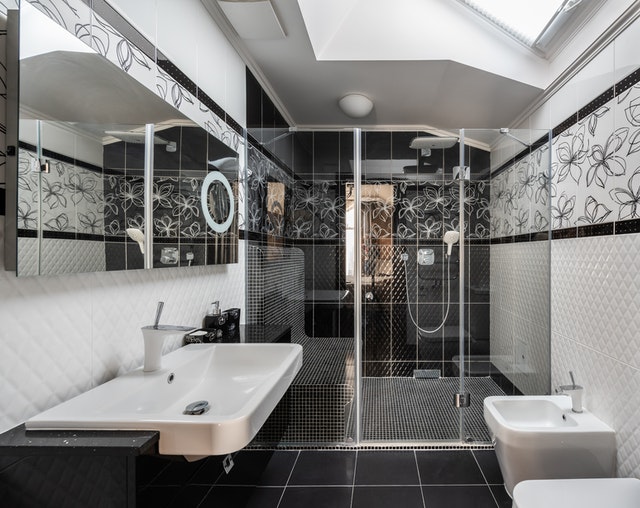
Bathrooms
Preparing bathrooms
Unlike other rooms in the house, bathrooms rarely have movable furniture, and most pieces will have to be protected as directed below. Any furniture that can be moved should be removed and stored elsewhere until the job is completed.
Scrape loose paint and make any repairs to walls and wood-work as necessary. If mildew is present, remove it with a solution of one part chlorine bleach to three parts water.
Painting bathrooms
A High-sheen paint will make the bathroom easier to clean. Also consider using one of the paints that are formulated to withstand the high levels of moisture found in every bathroom.
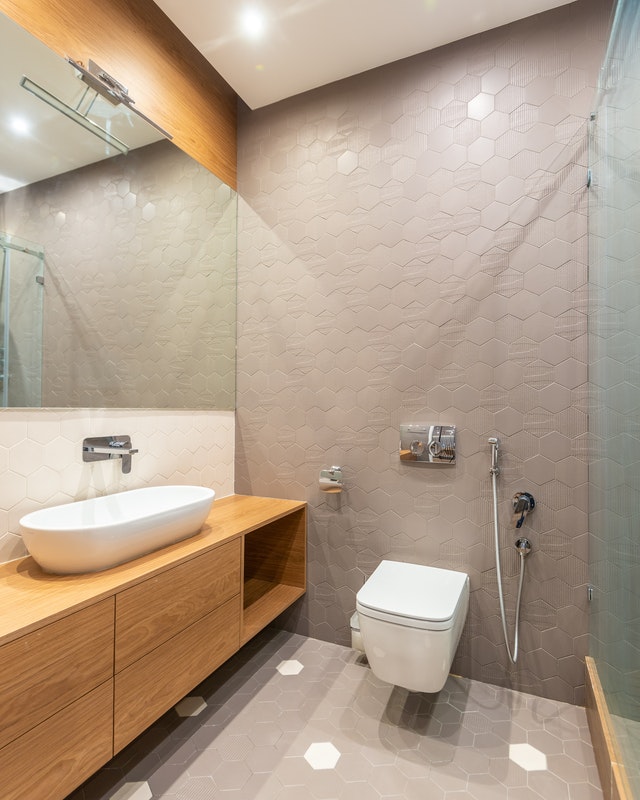
Choosing painted or tiled surfaces
Ceramic tiles that can be easily washed may seem like a good solution for bathrooms (and many kitchens). However, bathrooms, even more so than kitchens, tend to have recesses, ledges, and pipes that cannot be tiled. It is best to paint these areas, especially as there are now paints on the market that are formulated to cope with high-moisture conditions.
Protect parts of the bathroom that won’t be painted
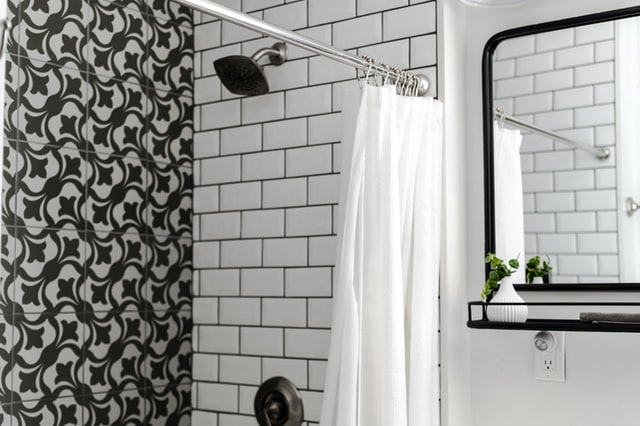
Cover any unpainted areas of the bathroom, such as the toilet and the vanity mirror, with a drop cloth. Tape plastic sheets over tile walls. Use drop cloths on floors. Protect the tub by taping the drop cloth over it.
Protecting Bathroom Fixtures
Cover the faucets
Keep paint drips and splatters off faucets and spouts by constructing newspaper hoods. First, fold a sheet of paper to form a semicircle and then attach it to the wall with painter’s tape.
Protect the light Fixtures
Remove the globe and bulbs. Apply painter’s tape around the edges of the fixture. For extra light while you are working, keep light bulbs in place on the opposite wall.
Painting Bathrooms
Painting around the medicine cabinet
Having masked the edges with painter’s tape, use a 2-inch brush to apply the paint. Paint around the medicine cabinet in the same way that you would paint around a window. Keep a clean cloth handy to wipe up any paint splatters that land on the cabinet.
Painting around a light fixture
Use a 2-inch brush to paint around a light fixture. If you kept the bulbs in place and lights on when painting other parts of the room, remove the bulbs now. If you keep them in place, their glare will prevent you from seeing what you are painting clearly.
Clean up spills on tiles
Wipe up spills immediately. If you miss any, let the spill dry completely and then rub it off with a nonabrasive scouring pad.