Step-By-Step Bathroom Installation
Step-By-Step Bathroom Installation
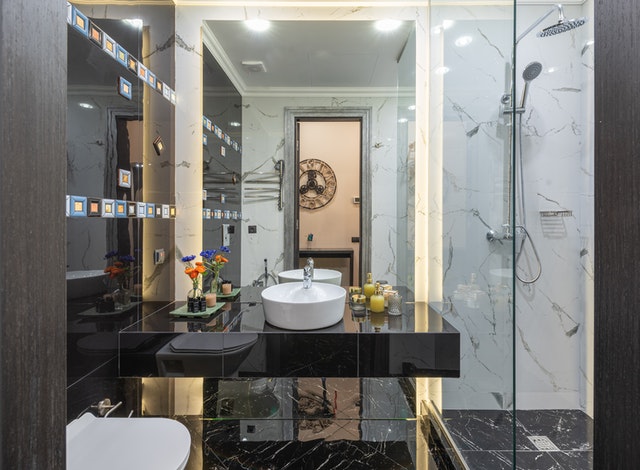
A bathroom installation is – depending on the circumstances on site and the respective wishes – a usually complex and often not very cheap project. This article gives you an overview of what you should definitely pay attention to, where you can take action without hesitation and when it is better to bring a professional on board. At the end of the bathroom renovation in a total of eight steps, your new dream bathroom awaits you.
Step 1: Check out where your strengths and weaknesses lie
Although skilled do-it-yourselfer can certainly save money here and there by making some tasks on their own, there is a high probability that you cannot avoid hiring one or the other professional. Because the work that needs to be done includes the skills of various trades and, in contrast to many other do-it-yourself activities, are quite demanding. So think carefully about which of the planned renovation steps you can accomplish at a high level. For everyone else, it is advisable to seek the help of Drywall, Heating engineers, tilers, plumbers or electricians.
Step 2: Plan your bathroom as detailed as possible
You should plan a bathroom renovation precisely in advance. So ask yourself what exactly you want. The more detailed your vision is, the more effective the initial discussion with a restructuring company will be, which comes into play as soon as you no longer know what to do. Make a true-to-scale sketch of the bathroom, on which you also take into account the adjacent rooms because walls can possibly be moved in favor of the bathroom surface.
Also note the position of windows, doors, and radiators in the floor plan and determine the course of power linesand water connections. Caution: In contrast to the water supply, the sewer pipes can in some cases not be laid as you wish without exception. Finally, determine where the toilet is, sink, Shower and if necessary one bathtub should be located after completion of the renovation measures. A tip: paper templates of the desired sanitary objects make it easier to experiment in order to find the optimal arrangement.
Step 3: Do the structural work
The planning is followed by gutting. That means: everything out that doesn’t pay rent! Do-it-yourselfer can easily take the gutting into their own hands so that they don’t have to hire a company. Remove the old sanitary ware, dismantle the fixtures, and knock the tiles off the walls. Sand off remnants of the tile adhesive. After you have removed all remains and cleared the room of any debris, there is the option of laying new screed. However, you should only carry out this step yourself if you are already familiar with it.
Step 4: Check the water pipe! The professional take care of the power connections
Often it makes sense to check the old water pipes in the course of the renovation work and, if necessary, to renew them, because what use is the most beautiful bathroom if one is there in the near future Water damages and work has to be done again because of the ailing pipes have to be replaced? If old lead pipes come to light, they should definitely be replaced because they are considered to be harmful to health. It should also be pointed out when it comes to activities relating to the water connections: do not underestimate your skills!
When installing the electronics, you definitely need to consult a professional, because there are a number of regulations – such as fixed safety distances to water sources – to be observed. In addition, this step naturally carries a high risk of injury.
Step 5: install pre-wall elements
The installation of pre-wall elements is a contemporary solution to hide the pipes for the water supply and sewage and, if possible, the power lines. Instead of behind the wall as before, the pipes, and cables are laid in front of the wall. Subsequently, a metal framework mounted in the wall and in the floor is clad, making the pipes and power lines invisible to the viewer.
In addition, the sink and changing toilet fasten in front of the wall elements in no time at all. Compared to the previous procedure, assembly is extremely straightforward: the objects are
simply hooked into the previously screwed-in threaded rods. The faucet of the wash basin is usually mounted on the basin itself.
Step 6: assemble the shower and bathtub
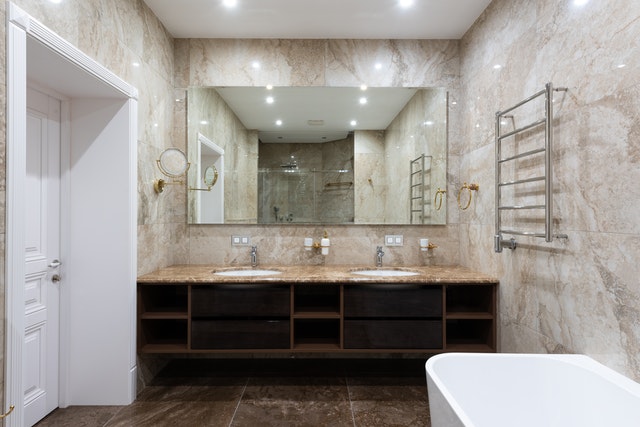
You are also spoiled for choice when it comes to choosing one shower or bathtub to decide. Nowadays, there are so many implementation options that you are guaranteed to find a solution tailored to your needs and implement it in your four walls. Installation takes place depending on which variant you choose.
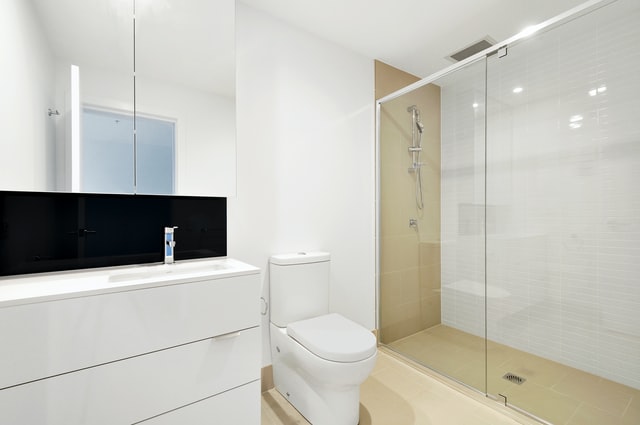
A modern bathroom usually impresses with a level of walk-in shower, thanks to which the annoying “morning exercise” when getting into the bath is a thing of the past. But free-standing bathtubs, with or without feet, puristic or nostalgic, are also conceivable in spacious bathrooms.
Step 7: Thoroughly seal joints with silicone
Last but not least, it is important that all the joints with Silicone sealed will.
Caution: Not all silicone is created equal! Products that are specially designed for these areas must be used in wet areas in particular. At acrylic bathtub It is also important to refrain from using standard silicons, as these would not stick in the long-term. Specially developed silicons are also available in stores for sealing acrylic.
Are you looking for a bathroom contractor? We found the best!
Whether it’s for the renovation of a bathroom or the installation of new bathroom tub or the addition of a new bathroom in the basement or elsewhere in your home, we have identified, and verified the best bathroom contractors.
Trendy bathroom remodel works offers everything you’d need for a bathroom renovation, such as lighting, plumbing, hardware, and overall general appliances. We also offer expert advice and guidance.
Contact us today : 7072046518.